

Managing the Dashboard#
As noted in the Software Ecosystem, the Dashboard provides support for users and groups with specific access permission. For standalone usage by individuals on a local machine, beyond changing the default password, there is nothing else in this section that might be important to the users. However, for user-groups employing one shared dashboard, the user management aspect becomes important. Dashboard allows the account administrators to add or remove users and organize them in groups to streamline sharing the research outcomes between various group members and among multiple teams.
Initial Setup#
Note
A video of setting the initial passwords is available on the SEAMM YouTube channel.
When the Dashboard is installed, two user accounts will be created automatically: an admin account and one user account with the default account name duplicated from the username on the host machine. By default, the initial passwords for the admin and user accounts are set to admin and default, respectively. Since both accounts have administrative privileges, one can use either for the initial setup. However, since the users may not know the username chosen for their account by the administrator, it might be more convenient to start with the admin account. After logging in with the admin user, make sure that the Dashboard is up and running (see the Installing SEAMM section for details on how to run the Dashboard). Then, open the main page of the Dashboard http://localhost:55055 (will open in a new tab):

The Public user pull-down button at top-right of the Dashboard#
Click on Log in and put the username admin and admin again
in the password field. This should take you to a slightly different Dashboard page
as shown below:
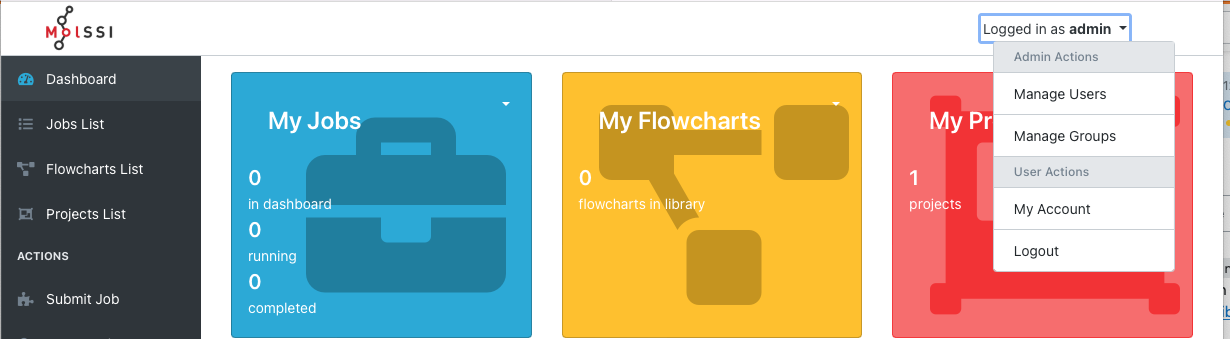
The admin user pull-down button at top-right of the Dashboard#
Click on the Manage Users menu item to get to the page for managing users:
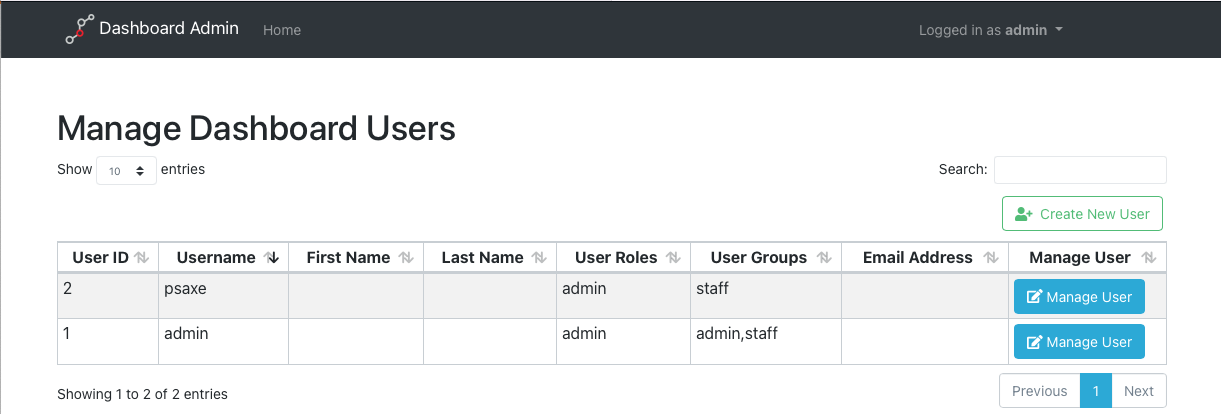
The Manage Users page#
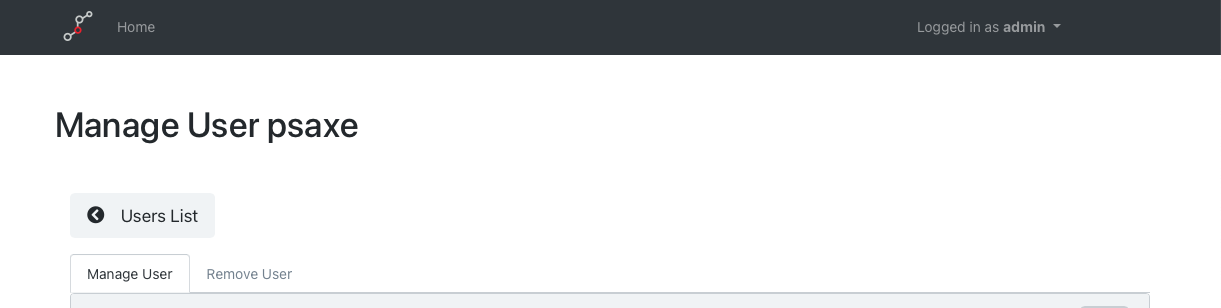
User #1 is always admin and user #2 should be you. Click on the Manage User
button for the admin user:
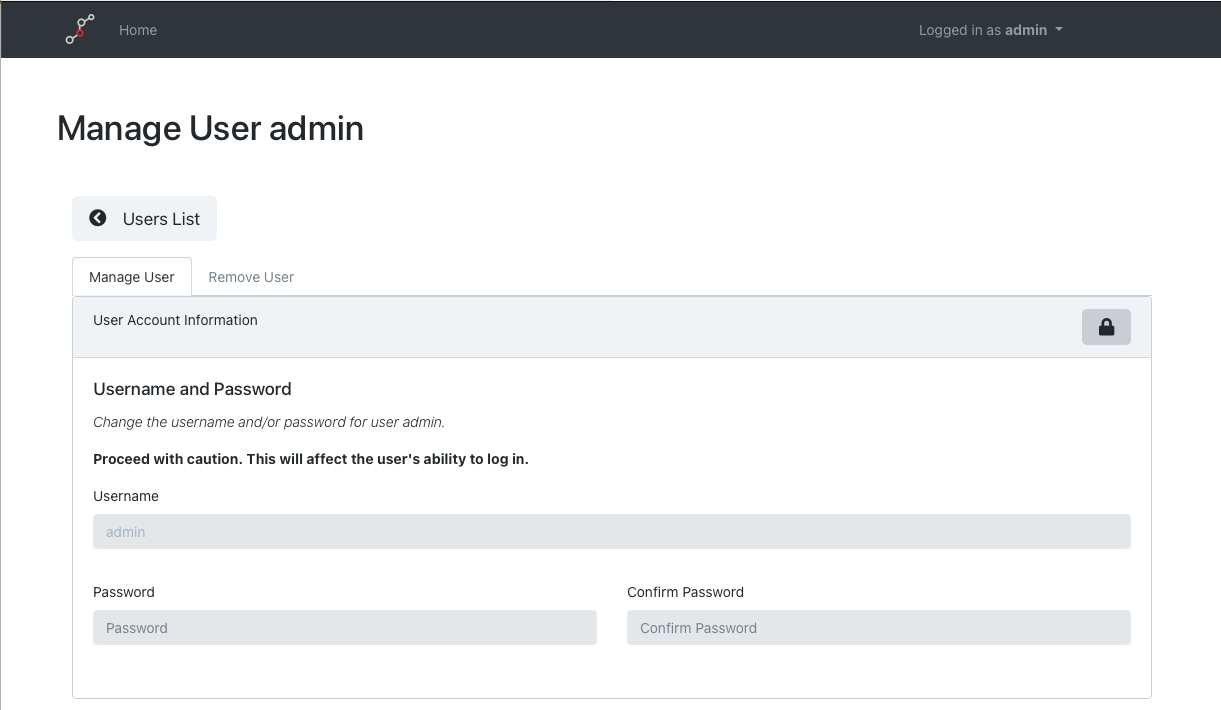
Changing the user’s password#
Click on the lock symbol at the top-right corner of the section to allow changes. Then, enter the new password and confirm it one more time:
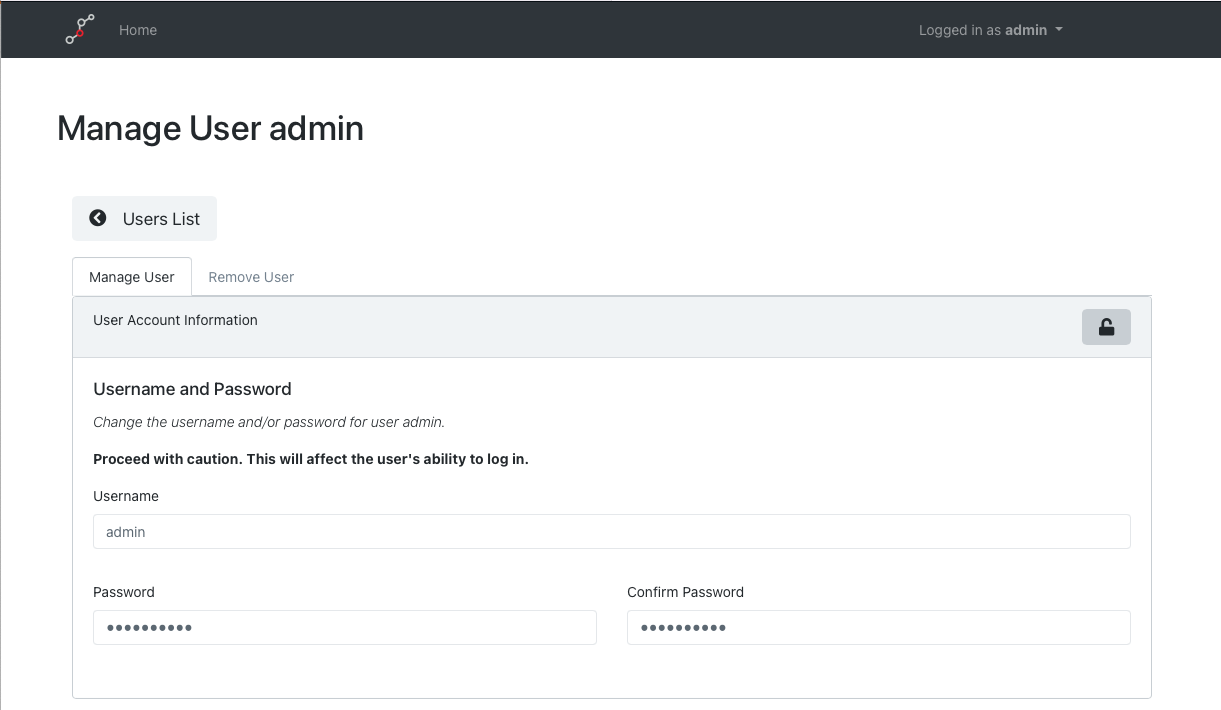
Changing the password#
The Dashboard does not allow the admin to leave the user’s contact information blank. Thus, scroll down to the bottom of the page, click on the lock button to be able to make changes and enter a name and an email address for the admin account:
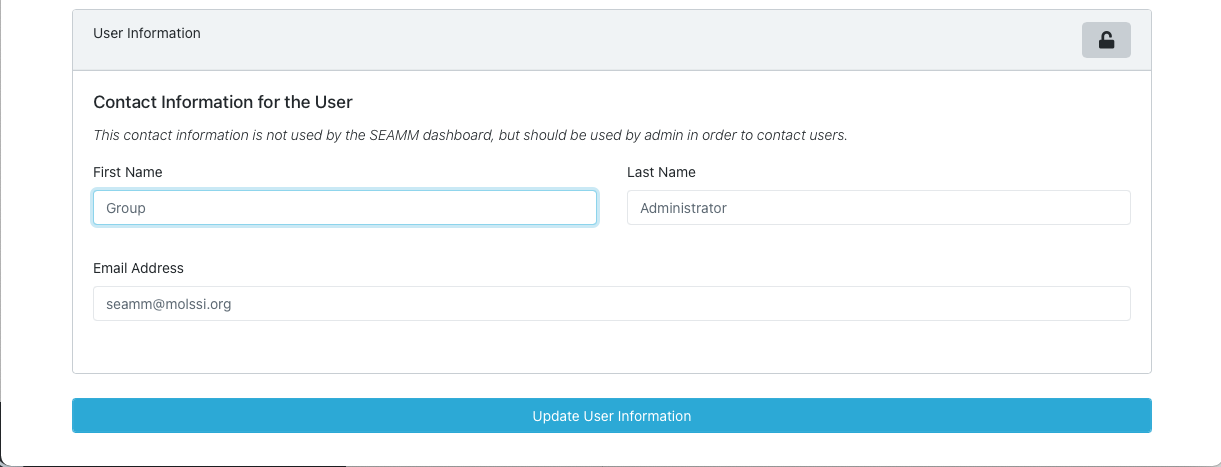
The contact information for a user#
Finally, click Update User Information to accept the changes.
Users should change their account password after their first
access to it.
Now repeat the process for your user.
Note
If your machine is connected to the outside world in any way, it is very important to change the passwords of the accounts and to use good, strong passwords. If you don’t use a password manager that can generate and save inscrutable passwords for you, try using a phrase of 3 or so words that you can rememeber and try to use some numbers and special characters.
Adding and Removing Users#
In order to add a new user, start by clicking on the Create New User button
at the top-right corner of the Manage Dashboard Users page:

Adding new users#
In order to delete a user account, start from the Remove User tab to manage the
user account:
Removing a user#