

Graphical Installation#
Note
A video of installing SEAMM is available in the SEAMM YouTube channel. Please note that this video is slightly out of date and there might be small differences between what you read here and watch there.
SEAMM should be installed in the seamm conda environment. The steps are:
Open a terminal and run the following commands:
conda create -n seamm -c conda-forge seamm-installer
Once the environment is in place, activate it:
conda activate seamm
Now run the SEAMM Installer to install both the SEAMM environment and the available plug-ins:
seamm-installer
You will see a window like this:
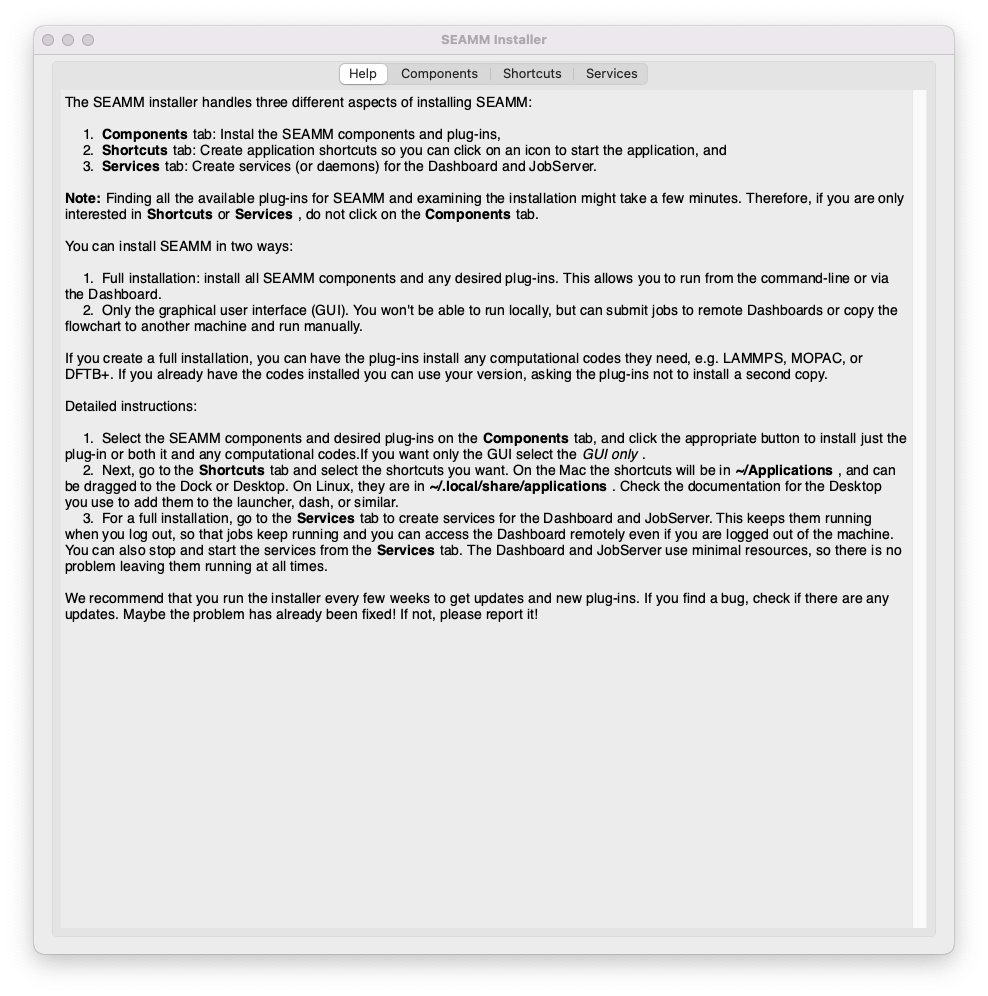
The initial window of the Installer#
Click on the second tab Components. The Installer needs to examine the installation. This can take a few minutes, so be patient! A small dialog will come up in front of the Installer to let you know about progress. When the Installer has examined everthing it will fill out the window, like this:
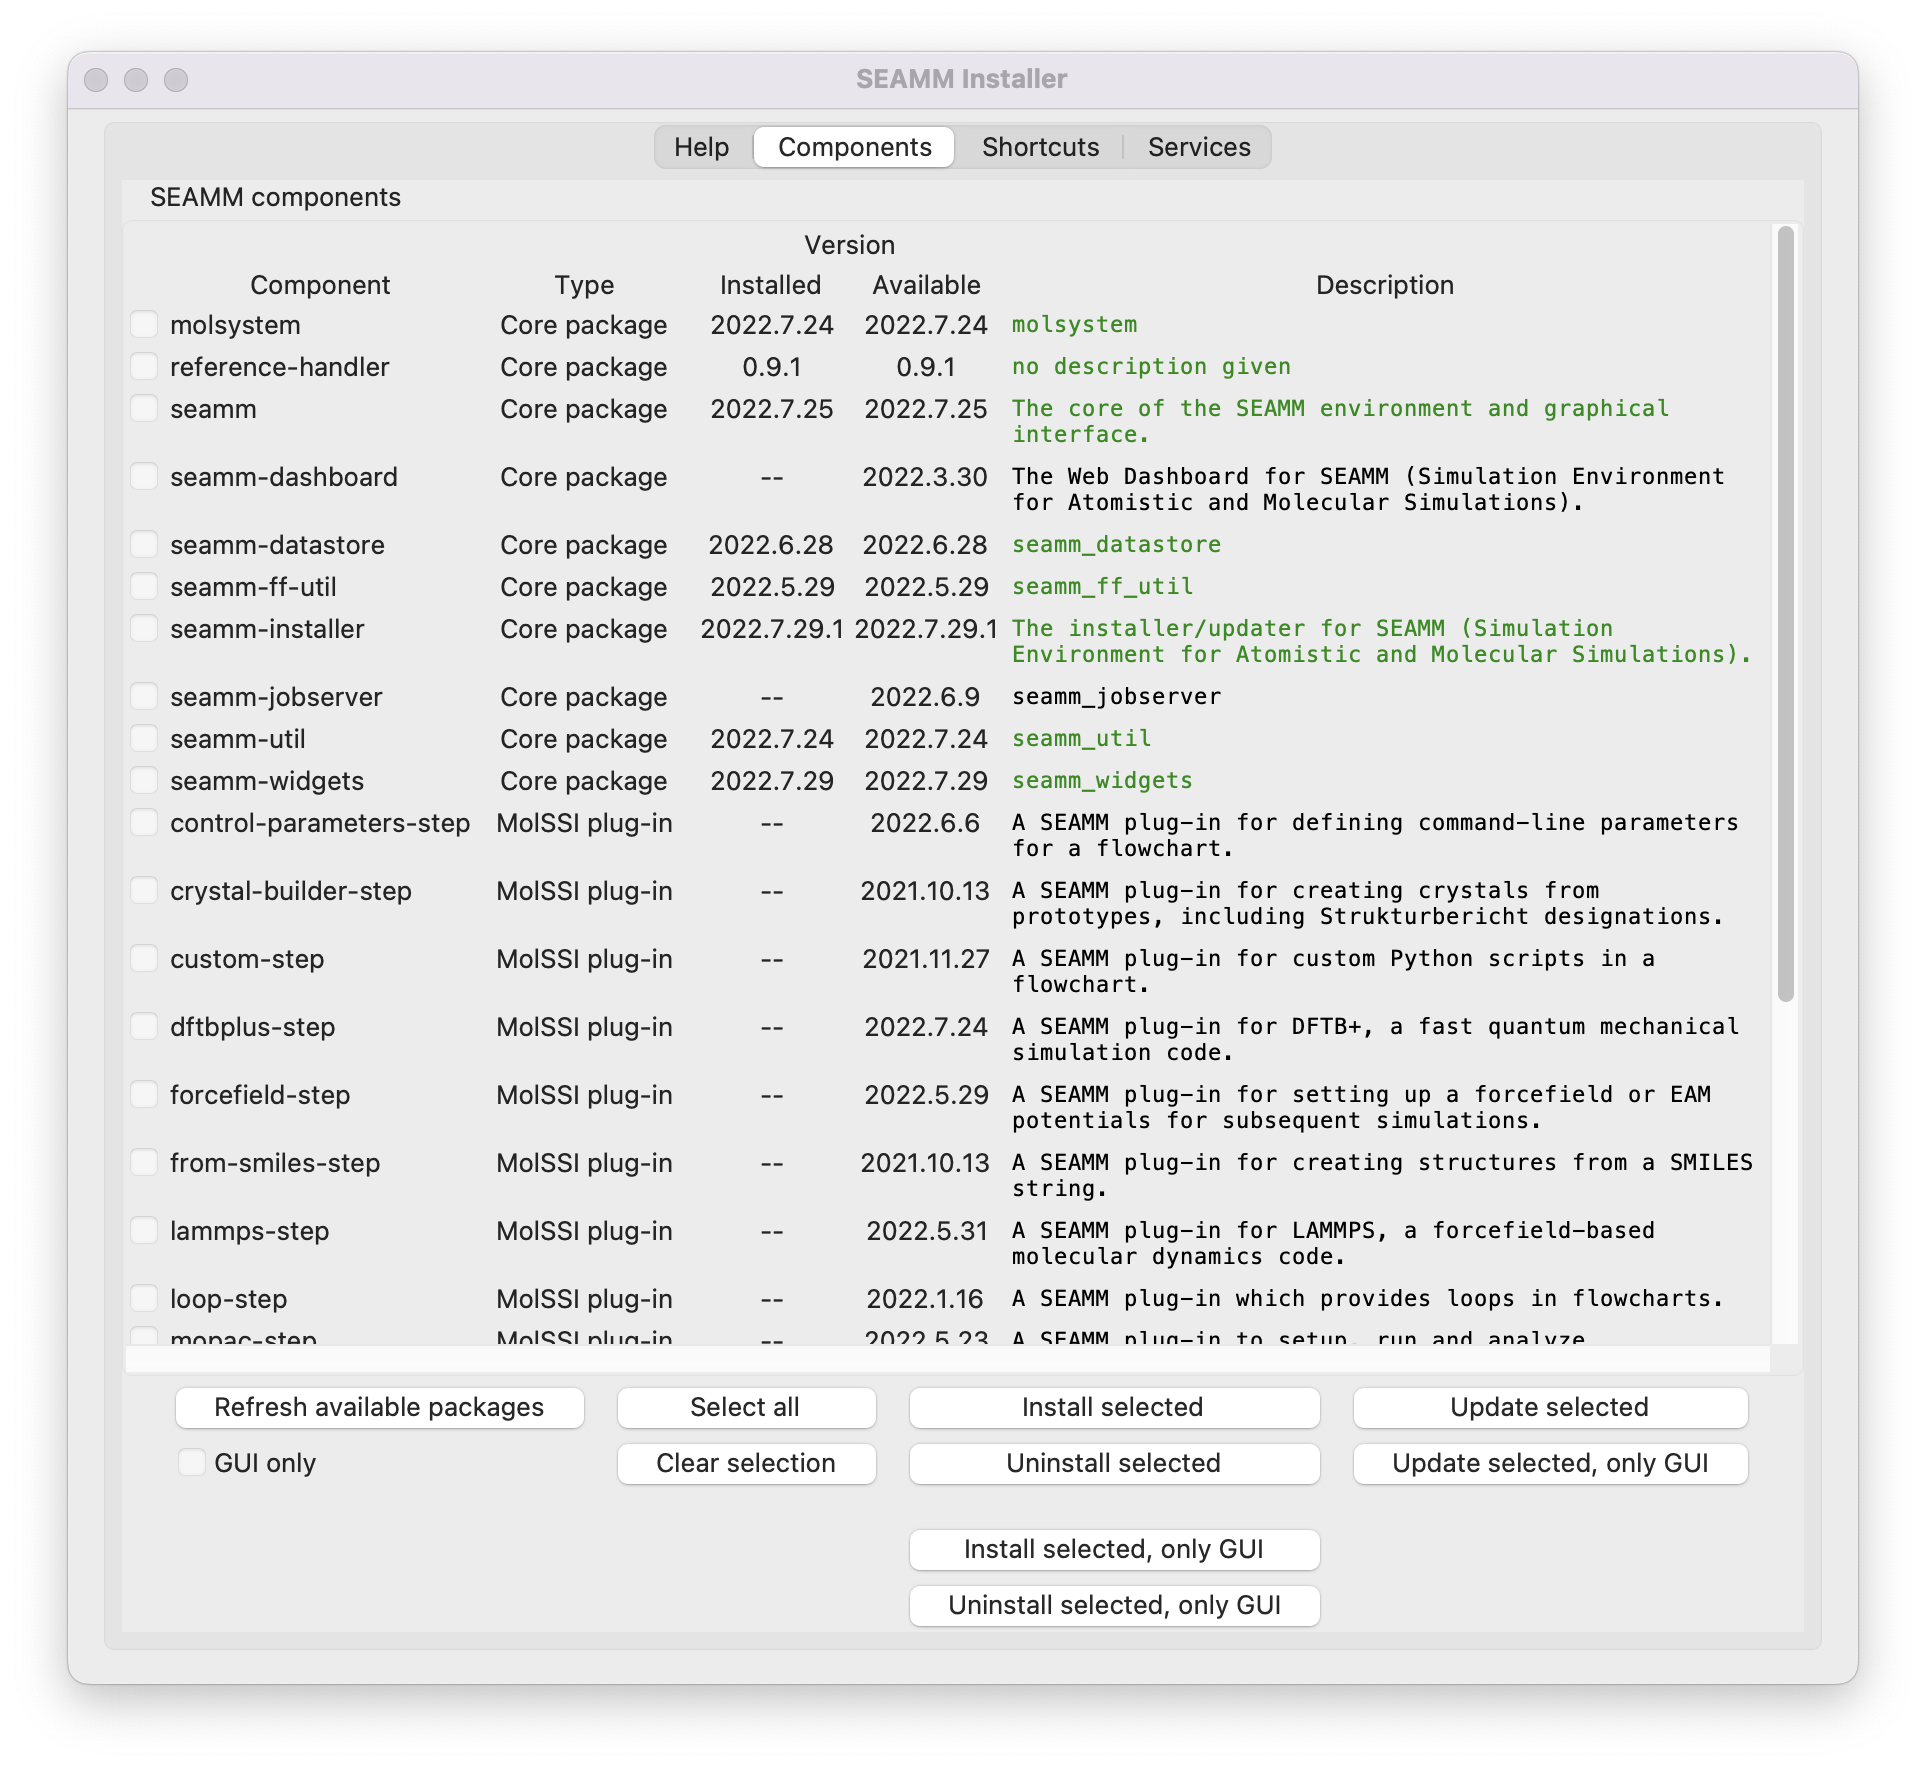
The initial Components tab.#
The lines in green show components or plug-ins that are installed and up-to-date. Black indicates that the item is not installed, and red indicates items that are installed but out-of-date. The first time that you run the Installer some of the core packages will be installed and up-to-date because you just installed them as you created the Conda environment.
You can select the plug-ins that you want, or select everything using the
Select
all
button. Once you are happy with your selection, click theInstall selectedbutton. Don’t worry if you have selected some of the packages that are already installed: they will be ignored. Depending on your internet connection, computer, and the plug-ins selected, the installation can take up to 10 or 20 minutes. This is because many of the plug-ins also install additional software such as LAMMPS, Psi4, Packmol, and DFTB+, and some of these packages are quite large and take time to install.When the installation is done, the window will update with the current status. If you wish you can select more packages to install and repeat the process.
Note
If you plan to only use the GUI on this machine, and submit jobs to other machines, you can select the GUI only checkbox. This will install only the components for the GUI of SEAMM. None of the background software, like LAMMPS, be installed. This is both faster and keeps the installation smaller.
Once you are happy with the installation, go to the next tab, Shortcuts to install shortcuts for starting SEAMM and the Installer. It looks like this:
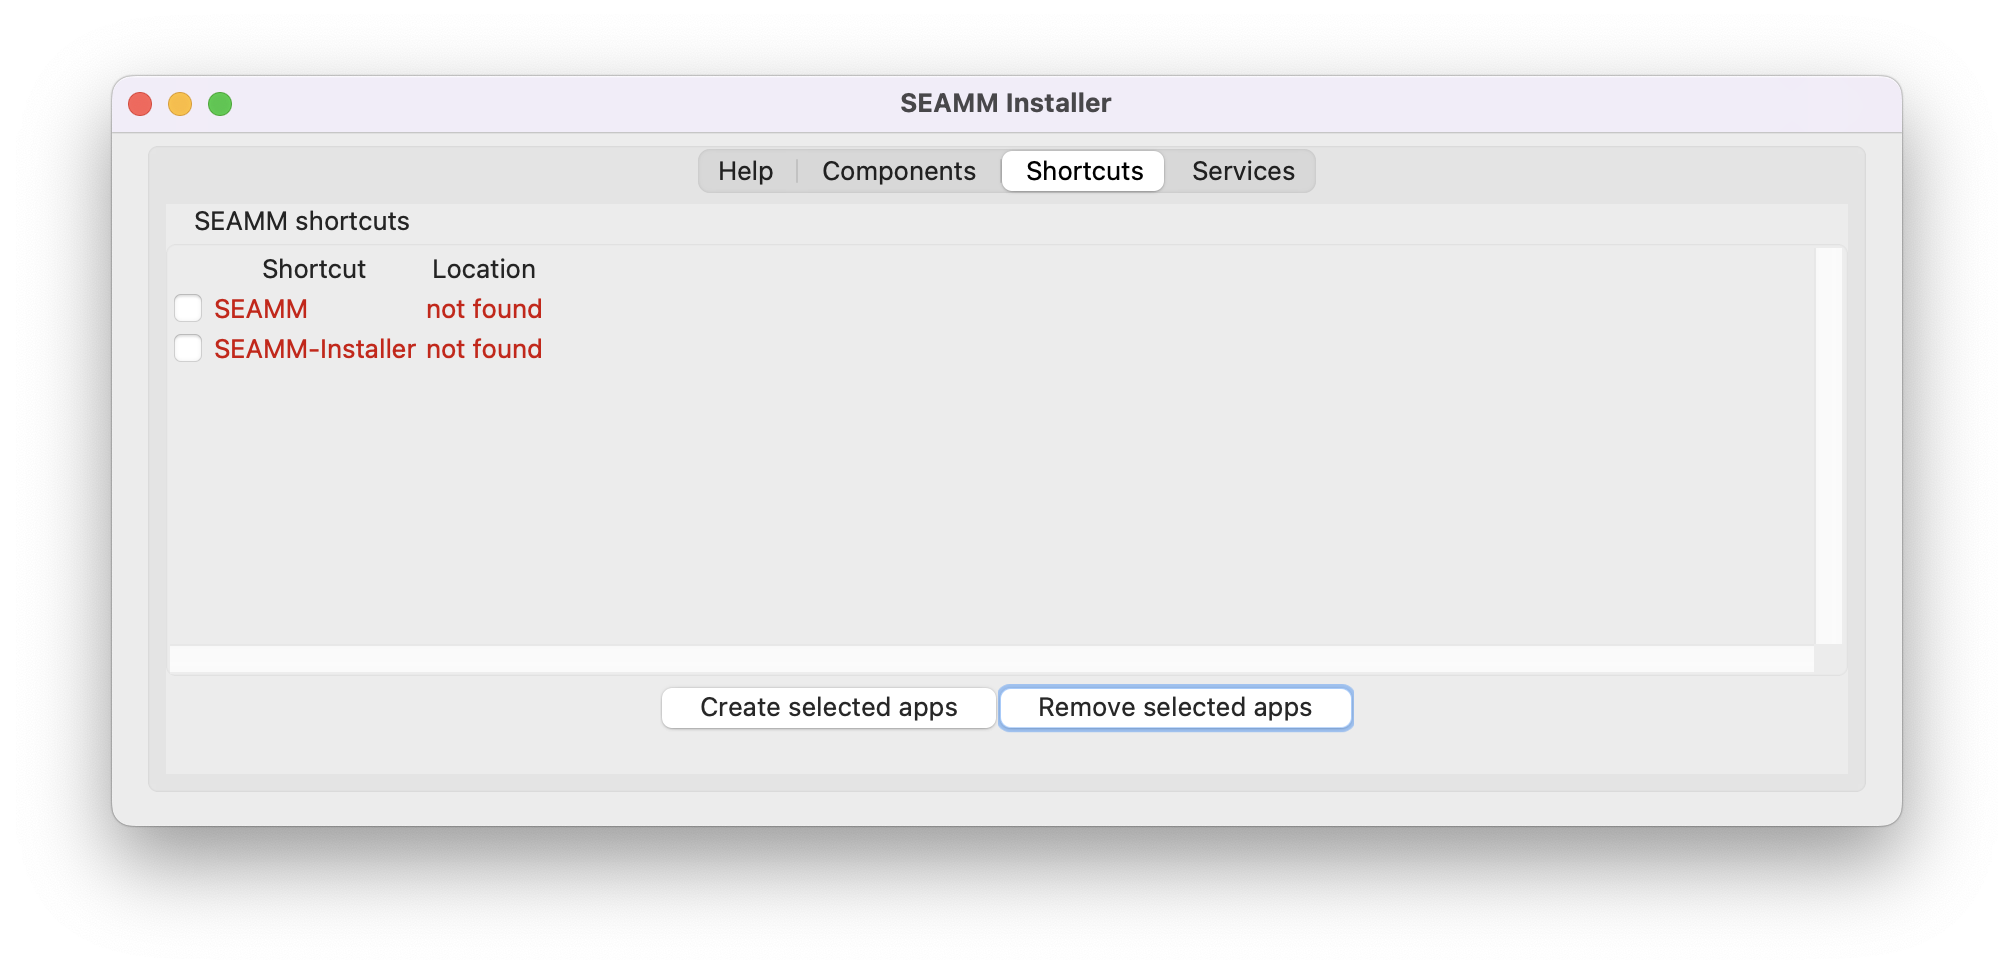
The initial Shortcuts tab.#
Select the applications that you want, and click
Create selected appsto create the shortcuts. On a Mac, the shortcuts will be in~/Applications, i.e. the Applications folder under your home directory, not the main/Applicationsfolder. On Linux, they will be in~/.local/share/Applications. You can usually drag the shortcuts to the desktop, dock, launcher or similar place for easy access; however, the details depend on the your OS and desktop so check the documentation if need be.If you want to run jobs locally, go to the last tab, Services, to install the Dashboard and JobServer as services so that they are always available. This tab looks like this:
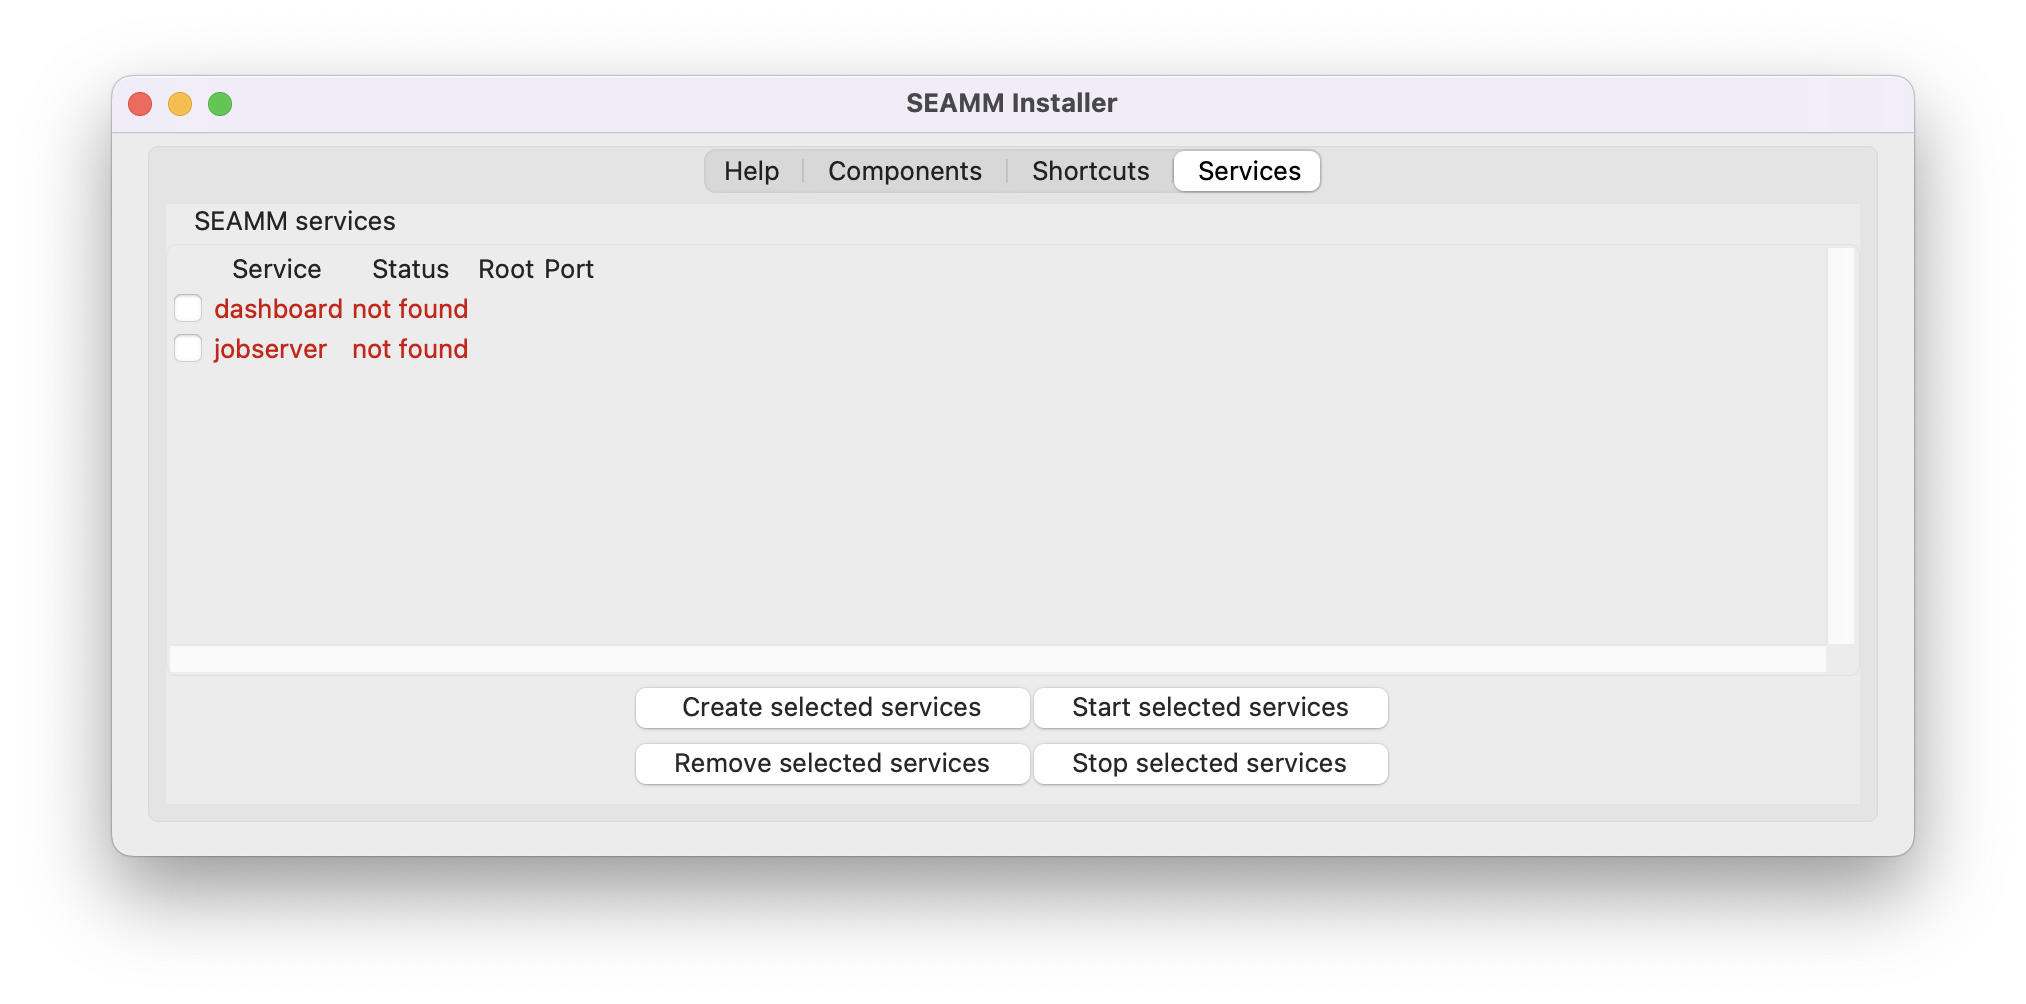
The initial Services tab.#
Select both the Dashboard and JobServer and click on
Create selected
services
. A small dialog will pop up allowing you to set the name of the Dashboard and the port. The default port is 55055, but you can change it to any port > 1024 that does not conflict with another service on your machine. Large numbers, like 55055, are generally safe: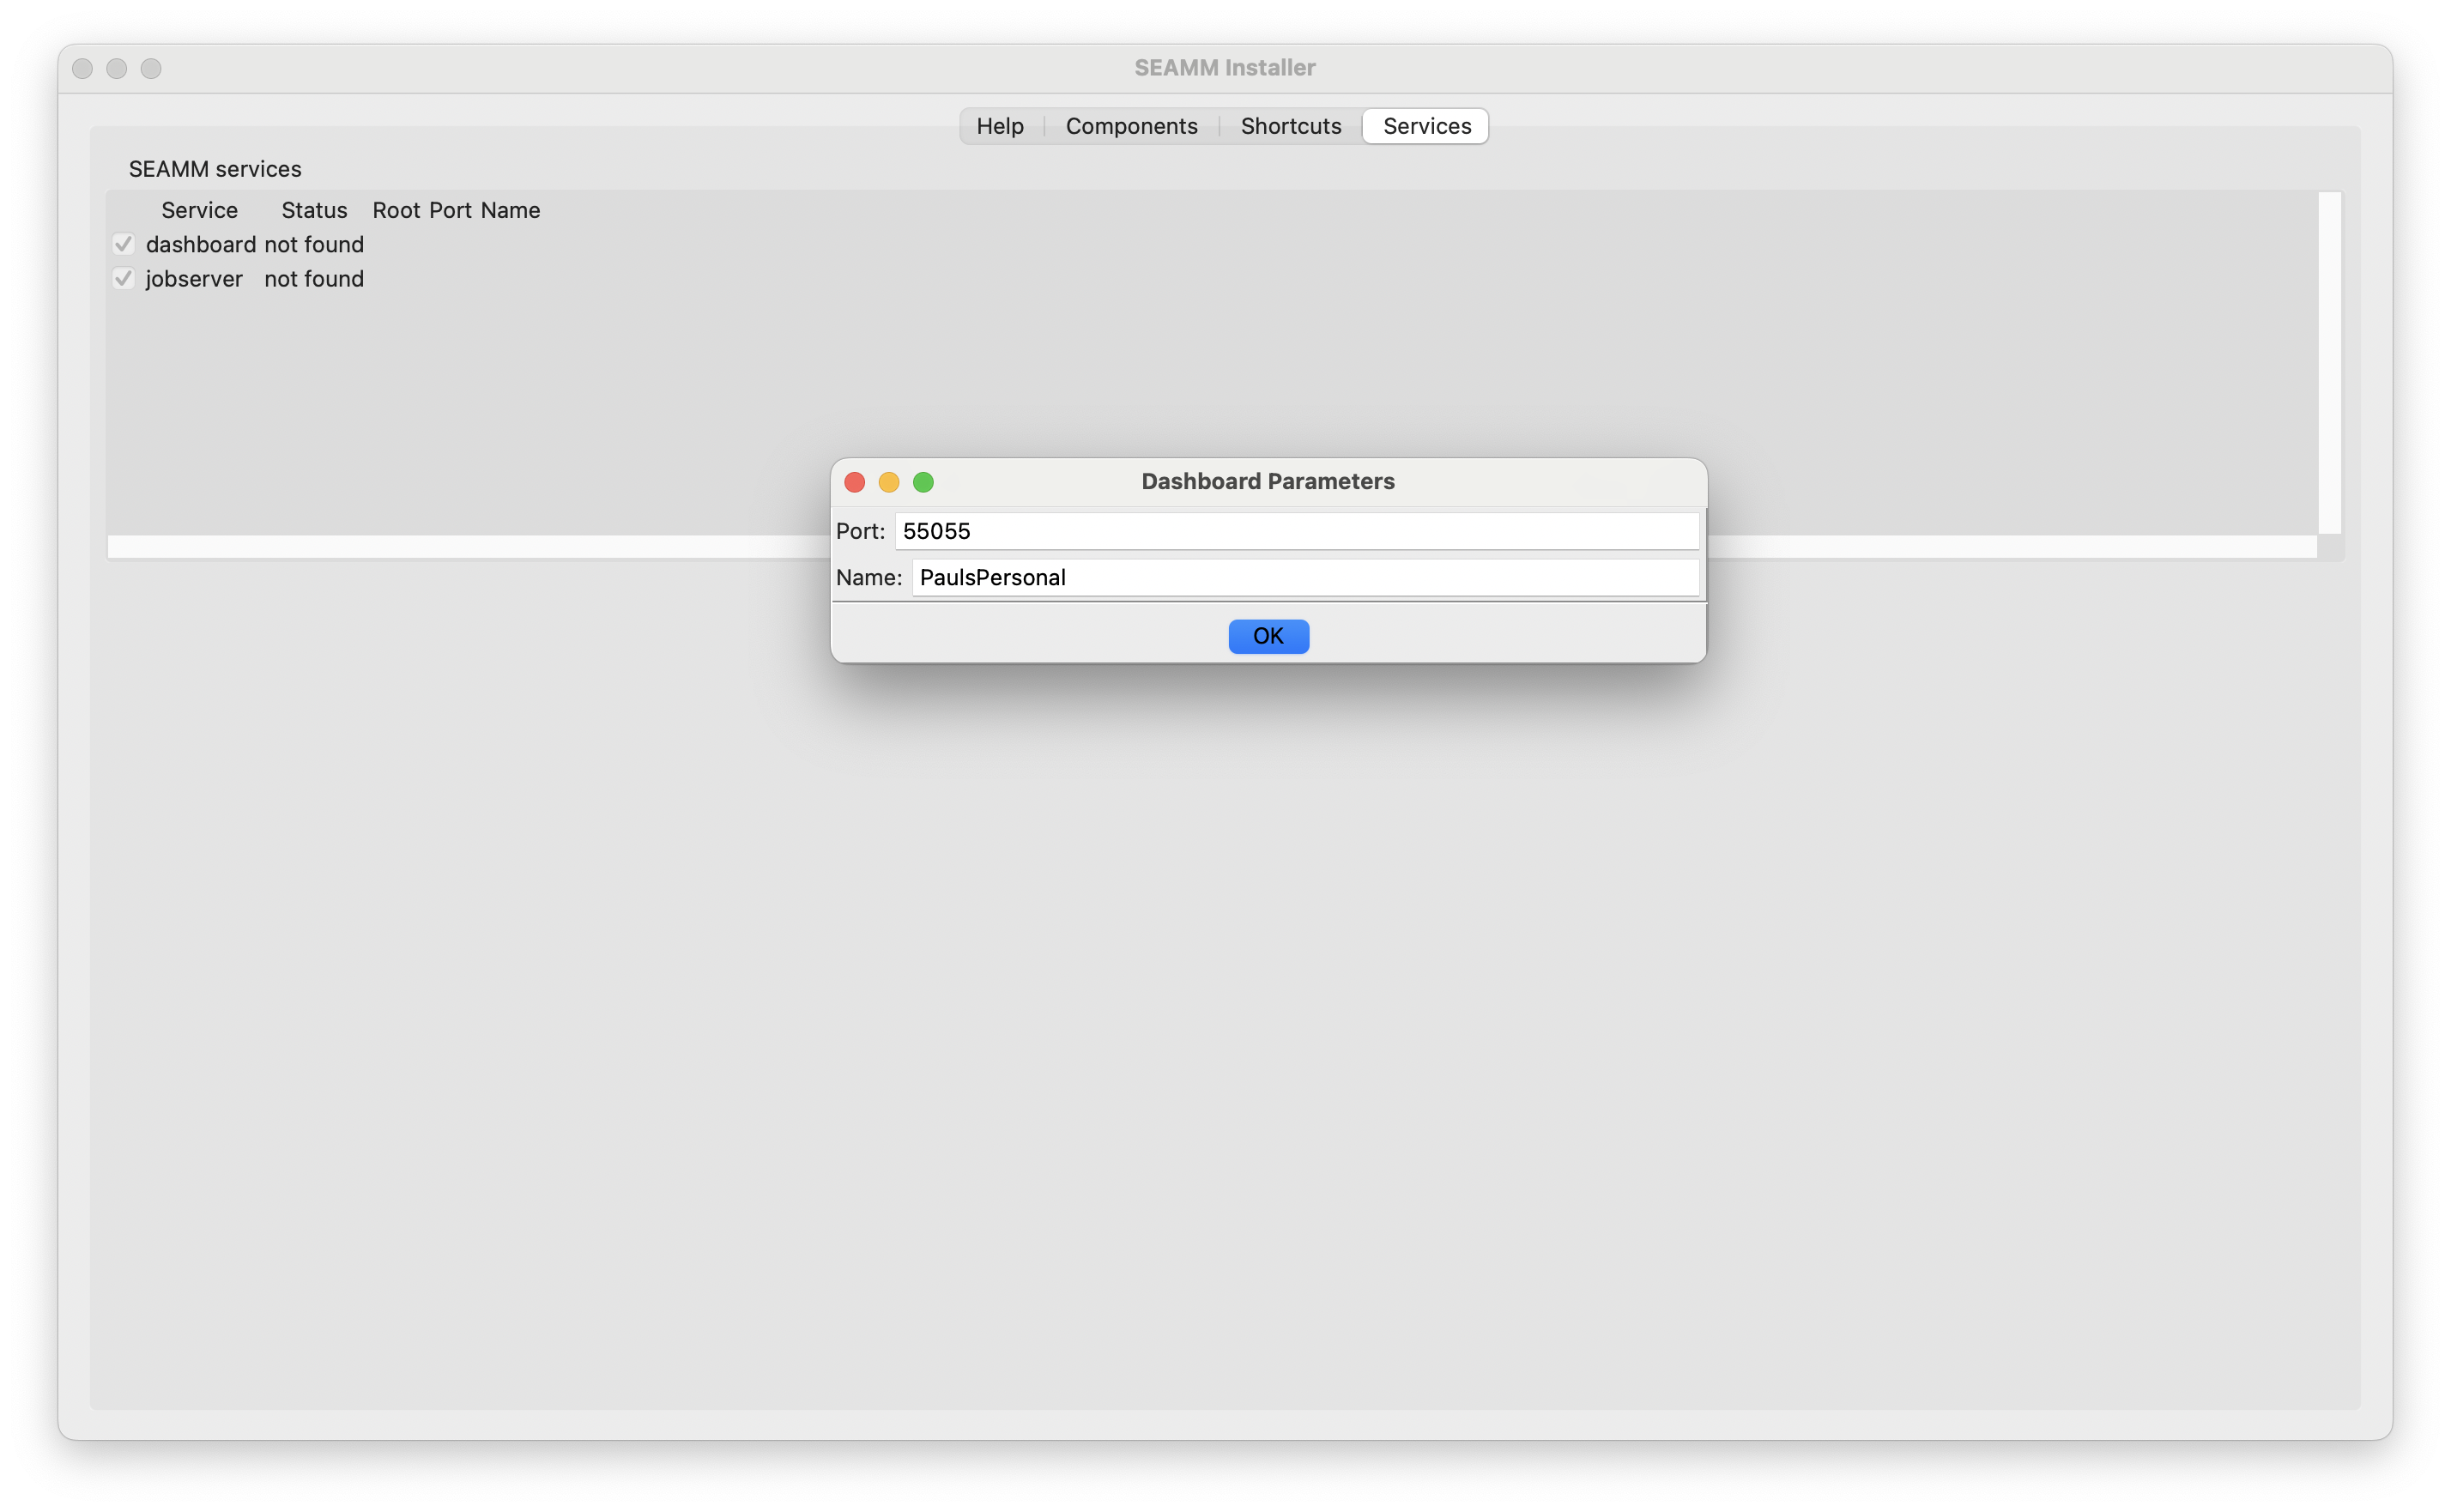
The dialog for setting the name and port of the Dashboard#
Click
OK. This will install the services and start them.
Congratulations! SEAMM is fully installed and ready to go. The Tutorials is a good place to start.