Getting Started#
Installation#
The FHI-aims step is probably already installed in your SEAMM environment, but if not or if you wish to check, follow the directions for the SEAMM Installer. The graphical installer is the easiest to use. In the SEAMM conda environment, simply type:
seamm-installer
or use the shortcut if you installed one. Switch to the second tab, Components, and check for fhi-aims-step. If it is not installed, or can be updated, check the box next to it and click Install selected or Update selected as appropriate.
The non-graphical installer is also straightforward:
seamm-installer install --update fhi-aims-step
will ensure both that it is installed and up-to-date.
Configuring FHI-aims#
The FHI-aims step requires that FHI-aims be installed on your system. Since FHI-aims is
licensed software, the SEAMM installer cannot install it for you. You will need to
obtain it from the FHI-aims website and install it, following the documentation
there. The FHI-aims step find where FHI-aims is installed by looking in the file
~/SEAMM/fhi-aims.ini. This file should be created the first time that you run the
FHI-aims step so that you can edit. Alternatively you can copy the example below into a
file named fhi-aims.ini in the ~/SEAMM directory and edit it to point to the
correct location of FHI-aims on your system.
# Configuration options for how to run FHI-aims

[local]
# The type of local installation to use. Options are:
#     conda: Use a conda environment
#   modules: Use the modules system
#     local: Use a local installation
#    docker: Use a Docker container
# By default SEAMM installs FHI-aims using conda.

installation = local

# The command line to use, which should start with the executable followed by any options.
# Variables in braces {} will be expanded. For example:
#
#   code = mpiexec -np {NTASKS} lmp_mpi
#
# would expand {NTASKS} to the number of tasks and run the command.
# For a 'local' installation, the command line should include the full path to the
# executable or it should be in the path.

code = ulimit -s unlimited && {mpiexec} -np {NTASKS} {fhi-aims} > aims.out

# On a mac, need the next line instead of the above
# code = ulimit -s hard && OMP_NUM_THREADS=1 && {mpiexec} -np {NTASKS} {fhi-aims} > aims.out

# The path and name of executable for FHI-aims and the MPI launcher. You'll need to
# change these and may need to specify the path to the executables.

fhi-aims = aims.241018.scalapack.mpi.x
mpiexec = mpirun

# The path to the basis sets for aims. Adjust as needed.
basis-path = ~/FHIaims/species_defaults
As long as MPI and FHI-aims are in your path, you should only need to change the exact
name of the executable and the path to the basis sets. If they are not in your path, you
can put full paths in the fhi-aims and mpiexec lines.
Running Calculations#
The FHI-aims step is designed to be used in a workflow, so you will need to create a workflow to run calculations. The tutorials will walk you through the process of creating a workflow and running various types of calculations.
That should be enough to get started. For more detail about the functionality in this plug-in, see the User Guide.
Note
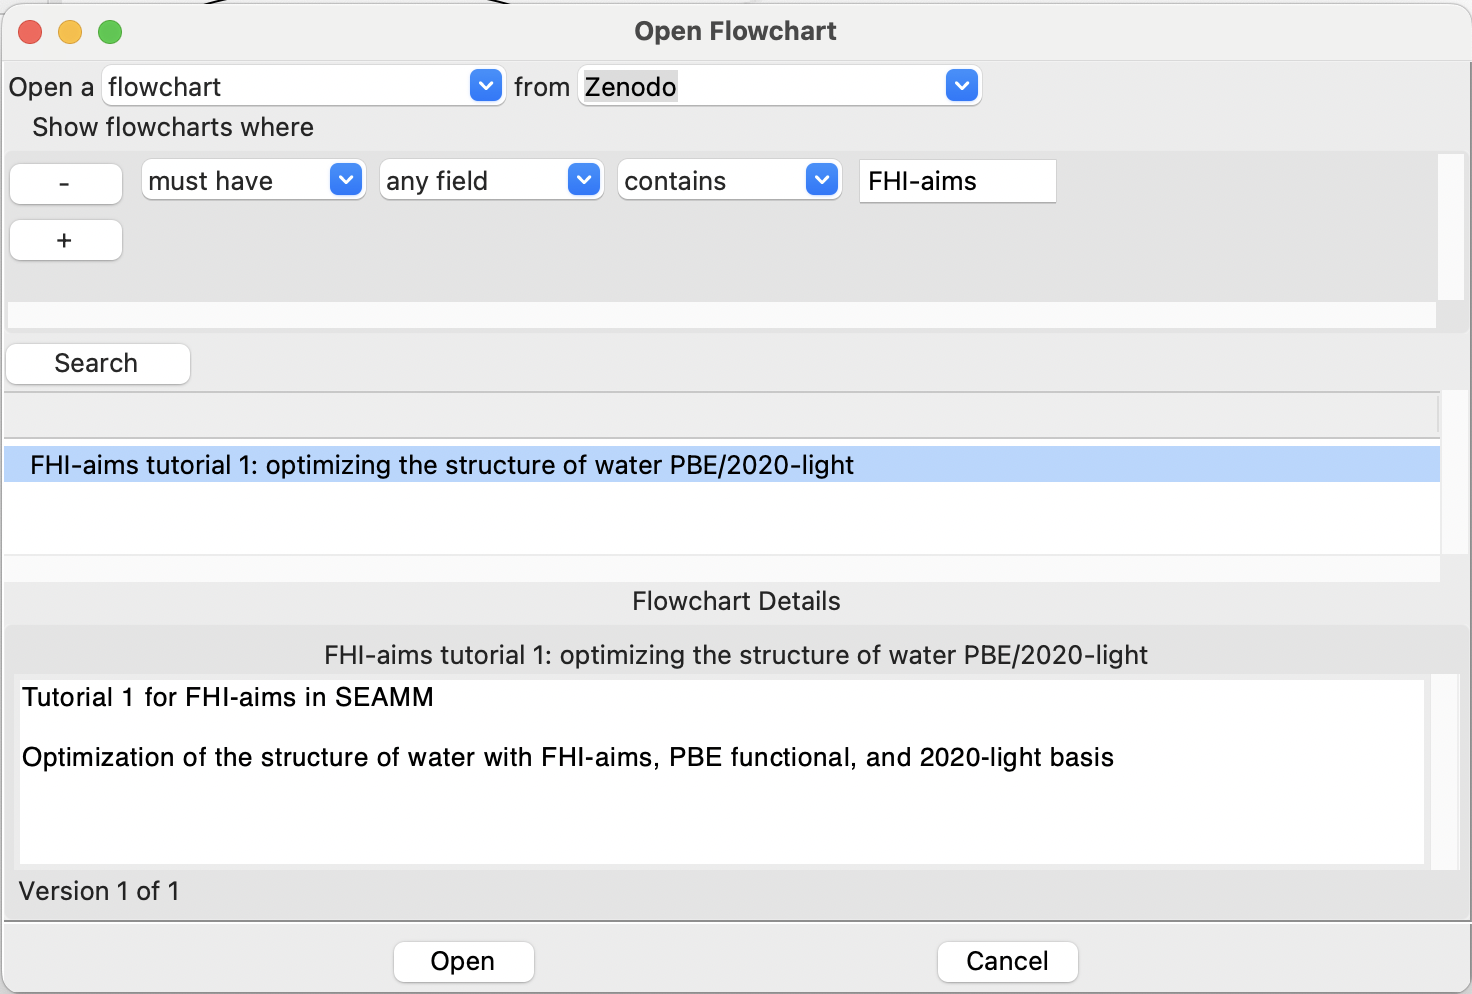
You can find other flowcharts for FHI-aims at Zenodo. From SEAMM select Open...
from the File menu, ask to open a flowchart from Zenodo and select for flowcharts
containing the string FHI-aims:

Searching Zenodo for FHI-aims flowcharts#

